Time to get Saucy!
I’m always fairly saucy as most of my friends will a test but today I’m talking about saucing tomatoes!
For most of you, tomato season is either well under way or maybe even drawing to a close but for us here in Northern Ontario our gardens are teaming with plump ripe tomatoes. Plain tomato sauce is a staple in our home and one of the musts on my canning list each year. I was gratefully gifted about 50lbs of Roma tomatoes from my friends garden and spent the better part of two days turning them into sauce and putting it in jars. These were the BEST Romas I’ve ever had the pleasure of working with and it was a challenge for me not to constantly dip my spoon into the bubbling liquid for a quick taste. They were a wonderful red colour, picked perfection, and extremely sweet tasting with a beautiful firm texture. It’s wonderful to be able to pick, can, and jar in the same day. It’s a great way to guarantee the greatest quality in each jar.
The recipe we follow is simple and the same from one year to the next. You can find our recipe here.
Garlic Scapes
It’s that time of year again and the garlic scapes need to be harvested, pickled, jarred, blanched and frozen for later consumption. Over the weekend, we trimmed about 9lbs of garlic scapes from their shooting green stocks. It’s an easy job and with several pairs of scissors working in cooperation it takes a matter of minutes to snip and bag. It’s best to harvest the scapes before they flower. This way the focus will shift away from them going to seed and send all of those good nutrients shooting down to the garlic bulbs. This should help the bulbs develope into even bigger heads with nice plump cloves.
We did one small batch of pickled scapes because they are a must for a little friend of ours (a now three-year old toddler in love with their “spicy” taste).
After we completed pickling the garlic scapes we decided to freeze the remaining 4lbs for dishes such as stir fries, beef burritos, veggie wraps, and/or soup. The list of ways to use these garlicy onion like greens is endless and I’m sure our readers can comment on a few of their favorite ways to use them in the meals they create.
BLANCHING GARLIC SCAPES:
- Trim off each end of the scapes using a pair of sharp scissors, remove any damaged pieces and wash thoroughly.
- In a large glass or stainless steel bowl add water and ice cubes (this will be used to abruptly stop the cooking process of the scapes).
- In a large stainless steel pot bring water to a boil.
- Add garlic scapes and return to a boil.
- Boil for 1 minute, remove the blanched garlic scapes and plunge into ice-cold water.
- Remove from the water and dry the garlic scapes well using a clean towel. This will prevent ice in the sealed frozen packets.
- Place useable size portions of garlic scapes in freezer bags or use your food saver to seal.
- Place in freezer.
Put up Total for Pickled Garlic Scapes
- 8 x 500mL wide mouth mason jars
SEAing Yellow on the Amalfi Coast
Have you ever wondered how and what grows in other countries?
Over the last few years, we’ve become increasingly more conscious of how and where our food comes from. We grow our own, trade with friends, and purchase locally as often as possible. That’s why we find it tremendously fascinating to see how it is done in other countries.
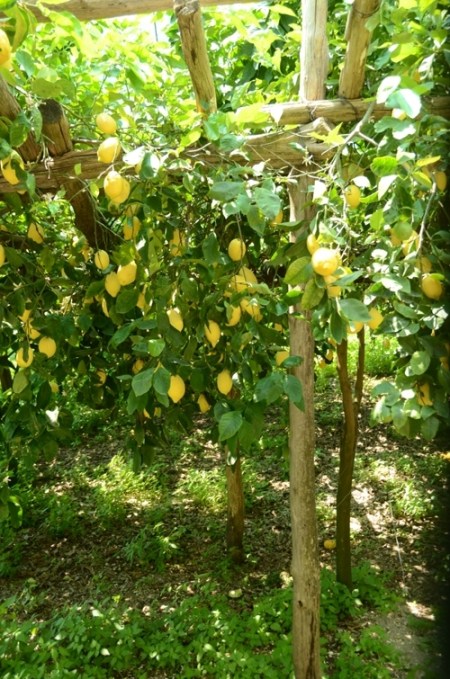
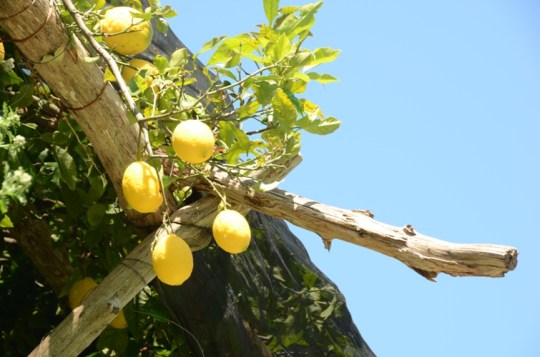
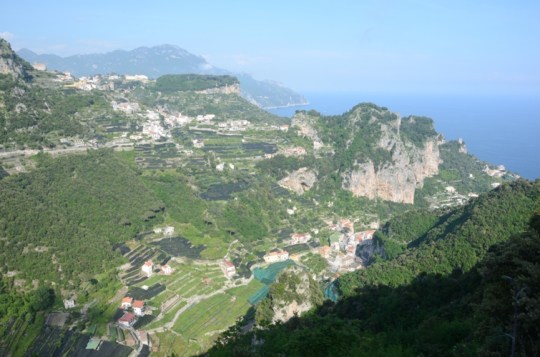
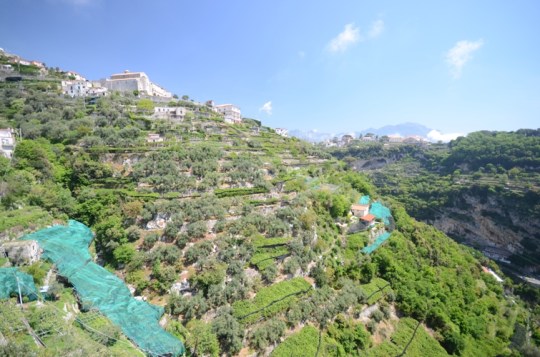
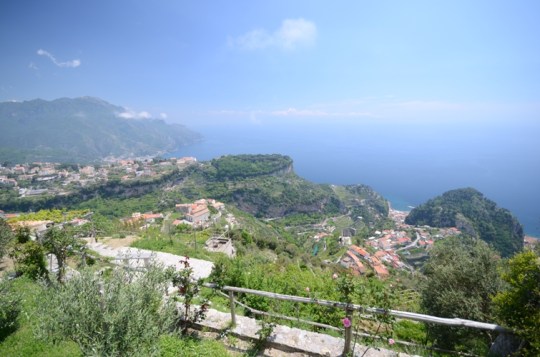
Coming to Italy we expected to see hillside terraces growing varieties of tomatoes, olive trees, and grape vines but what we weren’t expecting to stumble upon was an endless valley in Amalfi covered with lemon trees.
The lemon is a very important staple in Italy and Amalfi lemons, known as “Sfusato Amalfitano” are prized as one of the best varieties in the world. The Amalfi lemons have a distinct aroma with a bursting flavour high in acid. It makes a tart juice similar to that of grapefruit with subtle tartness making it extremely refreshing. To be sure you are purchasing “Sfusato Amalfitano” lemons or lemon products look for the I.G.P. logo which is the official logo acknoledging these lemons were grown in this territory using the tradtional rules of production.
While we knew the climate in Italy was suitable for growing citrus, Canadian grocery stores generally stock these fruits from either Florida or California making it quite a shock to stumble upon the valleys in Amalfi covered in trees.
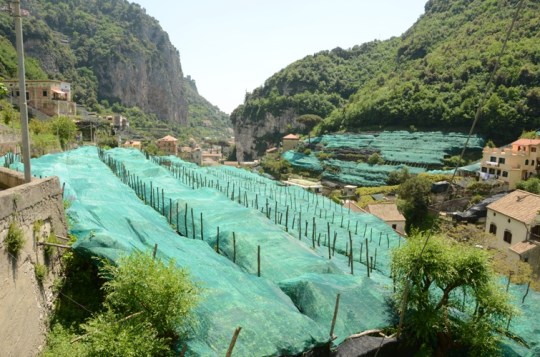
The vast majority of trees are lemon but there are also several orange varieties including kumquats and some figs and olive trees too. The valley between the steep hillsides provides the perfect arena for growing these trees and they line the hills on terraces for as far as your eyes can see. They are covered in green or black web like netting which provides the trees with some shade from the strong beating sun.
Amalfi is famous for its beautiful coastline, crystal clear water, mountainous backdrop, and its unlimited number of hiking trails. It was during our first walk known as “Valle Delle Ferriere” that we discovered the terraces growing lemons. Lemons galore!
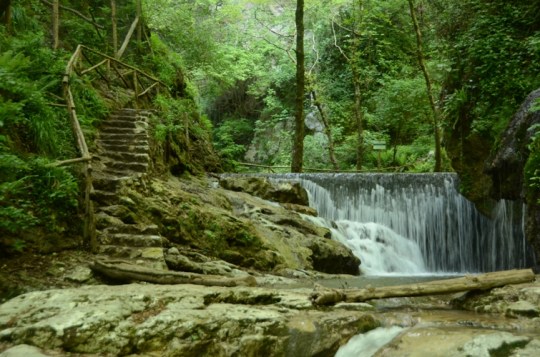
The town is fed by an endless number of strong flowing streams and if you walk a few kilometers into the center of Amalfi you will find these crystal clear waters rushing over weathered limestone. Not to mention stunning waterfall after waterfall!
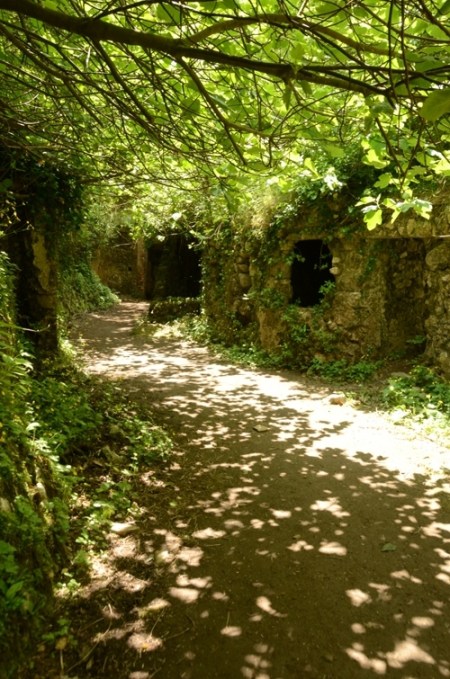
Centuries ago these streams facilitated the production of several papermills and an iron working factory. Today, there is little remaining of these old industries along the streams’ bank. Just a series of ruins where they once existed.
Today, these flowing stream are utilized by the village for providing the town with fresh drinking water (which comes out of an array of splendid fountains) as well as being the source of irrigation for the fruit trees and vegetable gardens.
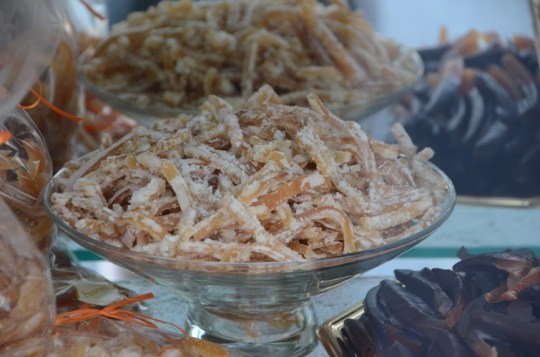
The lemons are made into countless products for both the local and tourist populations. These goods include their famous lemoncello (a tart lemon liqueur), candied citrus peels, Amalfi gelato, and even soap made in the shape of lemons with that unrecognizable citrus scent.
The scenery here is out of this world and I found myself often singing, “I’m on top of the world, looking out on creation…”
Pizza in Italy
Well folks we made it safely to Italy! The country of love and FOOD! …or should I say the country for FOOD LOVERS!
Italy is known throughout the world for its extra virgin olive oil, fresh tomatoes, Parma prosciutto, pasta, pizza, and gelato (as well as gorgeous architecture, masterpieces galore, the colosseum, etc…but we’re just talking food here).
Matt and I arrived 4 days ago and already we’ve walked many miles in search of the best pizza joints in both Rome (Beer and Fud and Li Rioni) and Naples (Sorbillo). Between the two of us we’ve consumed 8 pizzas. Big round, thin crusted pizza cooked to perfection in a wood burning oven.
Well, we could spend lots of time photographing each pizza, the wafting aroma often forces us to start consuming them long before a single snap shot can be taken. Plus, a photograph will never be able to reveal the goodness discovered with each mouthful.
The tomato sauce (pomodoro) is so fresh and sweet, the bufala mozzarella has a depth and texture unlike our cheese at home, and the toppings are added so sparingly that every combination we’ve tried melds together perfectly. And, cooking it in a traditional wood burning oven helps too!
Systematically we plan to try a different pizza in each and every town we visit. In the process of consuming plate after plate of pizza we’ve determined less is more. We too will attempt to achieve better results at home (although, I will say Matt already makes a pretty darn good za).
It will start with our pomodoro (tomato sauce). Right now, we turn about 200 pounds of Roma tomatoes into thin sauce but this year we will also be adding little tomato pieces to many of those jars. They do it here and we’re sure it will assist us in making our pizza even better.
Let’s ReCAP Things
ReCAPs!!! These handy-dandy little reuseable caps, made especially to screw snuggly onto regular mouth mason jars, are hot off the presses. They arrived last week and we’re excited to get them into the regular fold of things here in our kitchen. With a flip cap spout that snaps closed while not it use, it provides mason jar loving folks the capability of easy pouring and storing. They are made out of BPA free recyclable plastic so you can feel good about using them each and every time. ReCAPs’ website is now up and running so if you use your mason jars like we do (for everything) then head over to their site to check them out. They make life that much easier! I think wide mouth mason jars are next to be reCAPped.
Just a side note ~ we first saw reCAPs on stARTup. StARTup Incubator is a great site providing creative entrepreneurs an excellent platform for sharing, growing, and developing their ideas. It’s also well worth some exploration!
Pig in the Basement
Legs can be sexy, very sexy, especially when they’re coated in salt and left to hang from a floor joist for twelve to fifteen months. I’m talking about curing pork and I’m wondering why it took us so long to try this. We’ve fermented multiple batches of sauerkraut so why not meat? Talk about putting the horse before the cart.
There is a little bit of information on the web about curing pork but it’s difficult to find an actual step by step recipe. So we’re more or less winging it, and learning a lot along the way. Perhaps our trip to Italy in May will help us uncover the hidden mysteries of curing pork the old fashioned way?
We started with a 24lb pork leg from our friend Dave at Muskoka Meats. Lucky for us the weather has turned cool again after a very unseasonable warm spell. Once home we quickly got the leg salted. I first trimmed off any loose bits of meat and fat which could hold moisture and promote molding. Originally I had planned on brining the leg to draw out the moisture, but then I stumbled upon Sara Rosso’s blog Ms. Adventures in Italy and was inspired by her post about visiting a prosciutto facility in Parma, arguably the quintessential prosciutto capital of Italy. The traditional way of curing pork appealed to us, so I kept it simple and used straight salt. I smoothered the skin in regular table salt and used unrefined grey sea salt on the fleshy parts. The sea salt has a high moisture content and will hopefully keep the flesh from drying out prematurely.
After salting the leg, making sure to rub it in to every crevice, I took the leg down to the crawl space where I will leave it to mature. Typically, you would get your leg in the fall, when you would be guaranteed of cool weather to come. Thankfully for us the weather is becoming seasonably cool again so I don’t have to worry about the leg spoiling before the air warms.
At this point, I’m realizing why there are few definitive recipes out there for curing pork, as there are basically three ingredients: pork, salt, and cool temperatures. Feel free to crack another beer, cause this ain’t no soufflé. After salting, I placed the leg on a cooling rack, skin side up over a plastic container to catch the liquids. I slightly elevated the hoof end and placed weights (carefully selected rocks from the edge of the driveway) to aid in drainage. Every day for a week I placed fresh ice cubes in the plastic container and set a few ice packs around the leg to help keep it cool. I don’t know if this was necessary but I really didn’t want the meat to spoil on my first attempt. Next time, I wouldn’t bother with the weights because I don’t think they push out much more liquid. And if I was going to ice the dripping container again I would place the leg skin side down, as the evaporating ice seemed to dissolve the salt on the fleshy side. I sprinkled a little extra salt everyday to counteract that. The temperature in the crawl space seemed to hover in the mid forties, and I’ve seen no sign of spoiling. I don’t know what kind of results you could achieve by trying this in a regular refrigerator, as I’ve read varying reports on ideal humidity. If you have a wine fridge where you can control temperature and humidity that would be ideal. Although people with a fancy ass wine fridge probably aren’t hanging 25lbs of blood dripping pork for 12 months next to their vintage Bordeaux.
I left the leg like this for a week, emptying the container (dogs new favourite water bowl) of drippings and adding ice every morning. After a weeks time I removed the salt from the leg using a damp cloth. Then I resalted with fresh salt and tied a nylon rope around the hoof end of the leg. 
I then tied the leg to hang from a floor joist, by a window in the crawl space. Evey morning I open the window to let the cool fresh air work at drying out the leg, and then close it again every evening, as we are still experiencing freezing temps at night. Perfect maple syrup weather if the buds weren’t out, dammit!
I’ve had the leg hanging for a week now with the container below it. You can really see that it is drying out by this stage, as the blood vessels are now visible in the skin and the whole thing is starting to feel firm. 
As per Sara Rosso’s post I will probably leave the leg as is for a few months before applying the sugna (a lard mixture containing spices). I will post again then and plan on starting a couple more legs in the fall. In the mean time, I found an awesome video by Michael Gebert on some high quality pork being cured in Iowa, inspiring.


